Thresh
Patch 7.2dDeath Sentence
- Cooldown Refund on Champion Hit3s → 2s
Our take
Landing a hook brought the next one back too quickly. With one second less refunded, there is now a gap after a successful hook — and room for the target to answer.
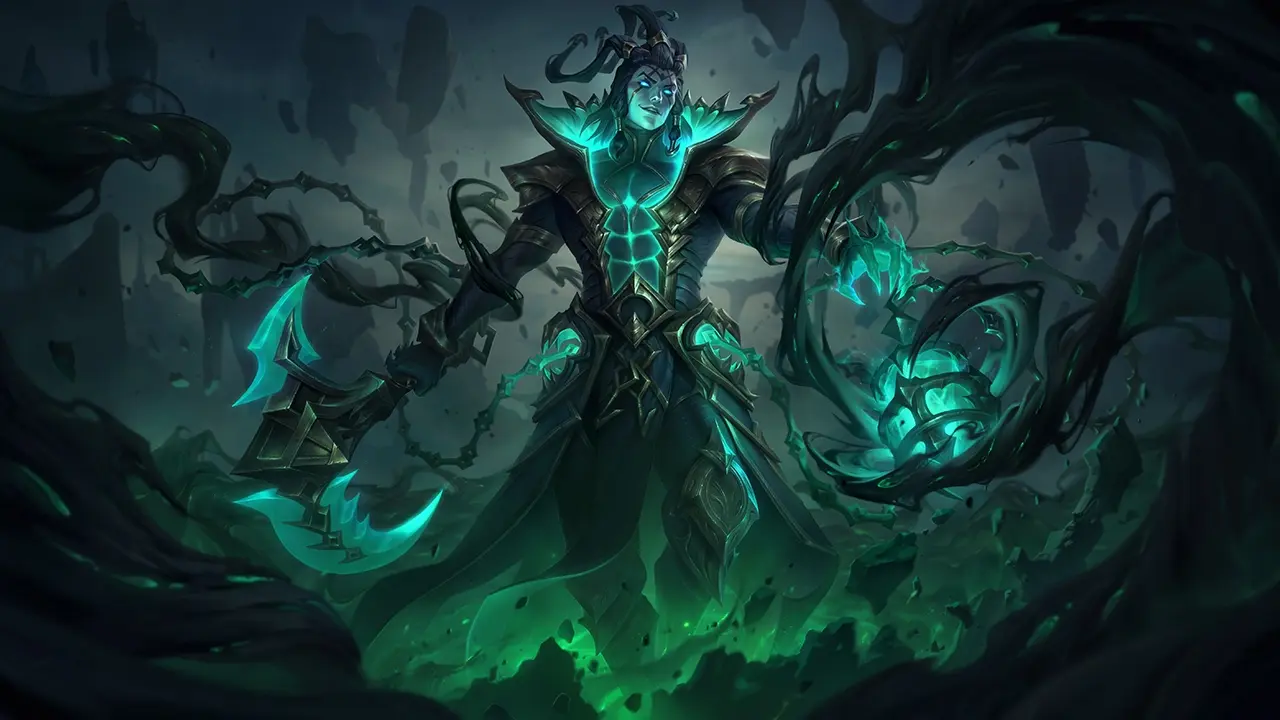
the Chain Warden
Roles and difficulty from the global official site, lane from the China-server official site
| Rank tier | Win Rate | Pick Rate | Ban Rate | Tier |
|---|---|---|---|---|
| All ranks | 51.9% | 12.4%#2 | 12.6% | A |
| Diamond+ | 50.9% | 14.6%#1 | 10.5% | S |
| Master+ | 51.0% | 14.8%#1 | 10.3% | S |
| Challenger | 51.3% | 14.1%#3 | 8.0% | S |
| Rift Apex | 50.9% | 15.3%#1 | 7.0% | S |
The tier list shows Master+ figures by default.
Taken from the in-game loadout screen as of 2026-10-07. The pick count and win rate are shown exactly as the game reports them.
Build that protects allies with Knight's Vow and Frozen Heart
When you want to protect your main carry from enemies who fight with basic attacks
The items that differ from build 2 are Knight's Vow and Frozen Heart, and total Armor is +170, higher than build 2's +90. When you buy Knight's Vow, you designate an ally as Worthy. While that ally is nearby, 12% of the damage they take is redirected to you, and you heal for 10% of the damage they deal to champions. Frozen Heart makes all enemy champions within 650 units lose 25% Attack Speed. The summoner spell Heal restores health to Thresh and the most injured allied champion nearby.
Build that endures with Warmog's Armor and Unending Despair
When you often clash with enemy champions up close and can fall back to recover in between
The items that differ from build 1 are Warmog's Armor and Unending Despair, and total Max Health is +1975, above build 1's +1175. If you have at least 950 bonus HP, Warmog's Armor restores 3.5% max HP per second once you haven't taken damage for 5 seconds. Every 4 seconds while in combat with a champion, Unending Despair deals 3% of your max HP as magic damage to nearby enemy champions. It also heals for 250% of the damage dealt, and both items heal more the higher your max HP is. Thresh pairs Flash with Ignite, which deals true damage to an enemy champion and applies Grievous Wounds.
The commentary is AI-written. It is cross-checked against this site’s item data and the official lane assignments before publishing.
Take Skill 3 early for its passive basic attack damage, then max Skill 1 to get your hook back up more often.
Skill 1's hook is high risk and high reward: land it and you get a kill, miss it and you are wide open. Hitting level 2 first and landing Skill 1 into Skill 3 (Flay) is one of the best First Blood setups among supports. Go for it whenever there is an opening.
In the mid game, use the Skill 2 Lantern to sync ganks and rescue caught allies, influencing the whole map. Throw the Lantern over a wall to your jungler. That lets you start fights from angles the enemy does not expect.
Keep collecting souls into the late game and you gain tank-level armor without buying armor items. Set up deep wards for vision. Hook an enemy carry standing out of position with Skill 1 and close out the game from there.
On offense, hook the enemy carry with Skill 1 and box them in with Ult to cut off their escape. On defense, knock enemy assassins out of their dashes with Skill 3. Pull a focused ally back with the Skill 2 Lantern, switching between attack and protection as the fight demands.
Using the Skill 2 Lantern only to give yourself a small shield is a serious loss. Its real moments are syncing with your jungler's gank and rescuing an ally who cannot get out. It pulls an ally to safety instantly, one of the strongest utility tools in the game. Keep tracking your allies on the minimap, and cover catch and peel with your level 5 Ult (The Box) and your hook.
Land the hook from Skill 1 and dash in, pull them back with Skill 3, then wall them in with Ult.
Pin them with the pull and slow from Skill 3 to keep the crowd control going.
This skill table was checked against the in-game text on 2026-08-15. Changes from 7.2d have been applied from the official patch notes.


| Details | LVL 1 | LVL 2 | LVL 3 | LVL 4 |
|---|---|---|---|---|
| Cooldown | 18 | 15 | 12 | 9 |
| Base Damage | 100 | 160 | 220 | 280 |

| Details | LVL 1 | LVL 2 | LVL 3 | LVL 4 |
|---|---|---|---|---|
| Cooldown | 21 | 19 | 17 | 15 |
| Shield | 50 | 90 | 130 | 170 |

| Details | LVL 1 | LVL 2 | LVL 3 | LVL 4 |
|---|---|---|---|---|
| Cooldown | 12 | 11 | 10 | 9 |
| AD | 80% | 120% | 160% | 200% |
| Slow | 20% | 25% | 30% | 35% |
| Base Damage | 75 | 115 | 155 | 195 |

| Details | LVL 1 | LVL 2 | LVL 3 |
|---|---|---|---|
| Cooldown | 85 | 80 | 75 |
| Base Damage | 250 | 400 | 550 |
A three-step guide set by the official champion library. For difficulty, a higher number means harder to play.
Critical damage is 200% for every champion. These figures exclude items and runes.
Our take
Landing a hook brought the next one back too quickly. With one second less refunded, there is now a gap after a successful hook — and room for the target to answer.
Our take
This moves Thresh from a purely protective support toward one who threatens damage himself. Death Sentence gains a lot of base damage and AP scaling, and its cooldown falls faster as it ranks up, so landing it pays off far more. Flay improves on both the empowered attack and the active. In exchange, Dark Passage's shield is thinner, weakening the protective half of his kit. The wider soul drop range at least makes stacking his passive easier.